Install Hestia Control Panel (Debian 12 Root Server)
I recently purchased a KVM root server from Netcup to finally move my FbIN domain and the related services there. Those being very resource hungry items, my current shared hosting setup was making my life a pain. It has been a place where I was restricted a lot, being shared resources, shared space, and everything. I even tried at home networking, but being CG-NAT, nothing worked, not even DDNS.
So, let us start with it.
Requirements: Writing for example KVM - RS 2000 G12 1M Rabatt (netcup) Operating System: Debian 12 Bookworm - Minimal Install Processor: AMD EPYC™ 9645 Processor cores: 8 dedicated RAM DDR 5 ECC: 16 GB Hard drive: 512 GB NVMe SSD Location: Europe Hestia URL: Getting Started Documentation | Generate Installation Script | WGET URL | List Of Installation Options
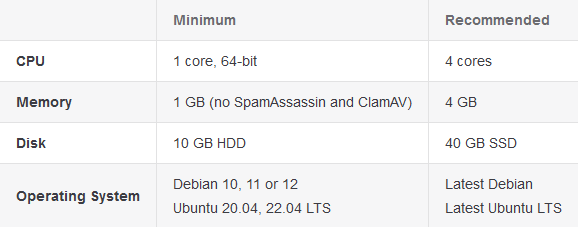
Note: Installer needs to be run as root. Also, Hestia must be installed on top of a fresh operating system installation to ensure proper functionality. If on a VPS/KVM, and there is already an admin account, either delete that default admin ID, or use --force to continue with the installation. See my custom installation script below for further details. Hestia only runs on AMD64 / x86_64 and ARM64 / aarch64 processors. It also requires a 64bit operating system! Hestia currently does not support i386 or ARM7-based processors.
Note: Never run a web or mail domain with the admin user.
Login
- Login to your server via SSH/Terminal
- Update your system
apt update && apt upgrade -y
Download
cd /homewget https://raw.githubusercontent.com/hestiacp/hestiacp/release/install/hst-install.sh
If the download fails due to an SSL validation error, please be sure you've installed the ca-certificate package on your system - you can do this with the following command:
apt-get update && apt-get install ca-certificates
Run this Installation Script
bash hst-install.sh --hostname 'examplepanel.domain.tld' --username 'admin' --email 'workingmail@domain.tld' --password 'strong&complexpasswordhere' --multiphp '8.2,8.3,8.4' --postgresql yes --sieve yes --webterminal yes --force
This command will force install Hestia in English with the following software:
- Nginx Web Server
- PHP-FPM Application Server
- PostgreSQL & MariaDB
- Database Server
- IPtables Firewall + Fail2Ban Intrusion prevention software
- VSFTPD FTP Server
- Exim Mail Server
- Dovecot POP3/IMAP Server
- Sieve
- ClamAV
- API
- Web Terminal
- Port 8083
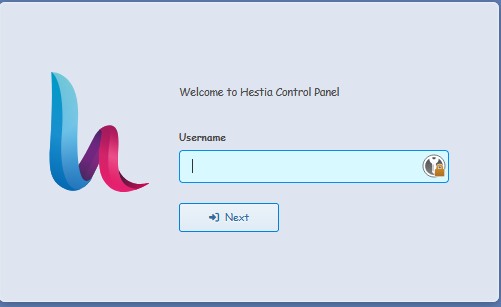
Once installed, you can start accessing your installation at:
https://panelexample.domain.tld:8083 or http://your.public.ip.address:8083
Login Page
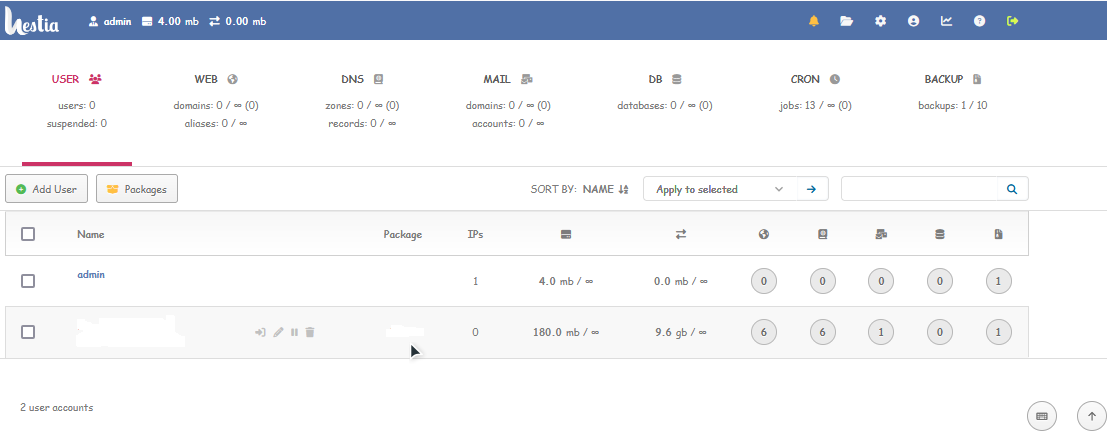
Control Panel Homepage
Enable two-factor authentication (2FA) for the admin user -- Documentation
Since the admin user has full control on the server, as well as elevated privileges, it is greatly recommended that you enable 2FA on this account. To access your account settings, click the user button in the top right.
- In your account settings, check the box labeled Enable two-factor authentication.
- Click the Save button in the top right.
- Scan the QR code using an authentication app.
- Save your Account Recovery Code somewhere safe, in case you lose access to your authenticator.
To secure your account further check out the following tutorial (applies to everyone using linux): Secure Linux Server